Table of Content for Quill JS Rich Text Editor
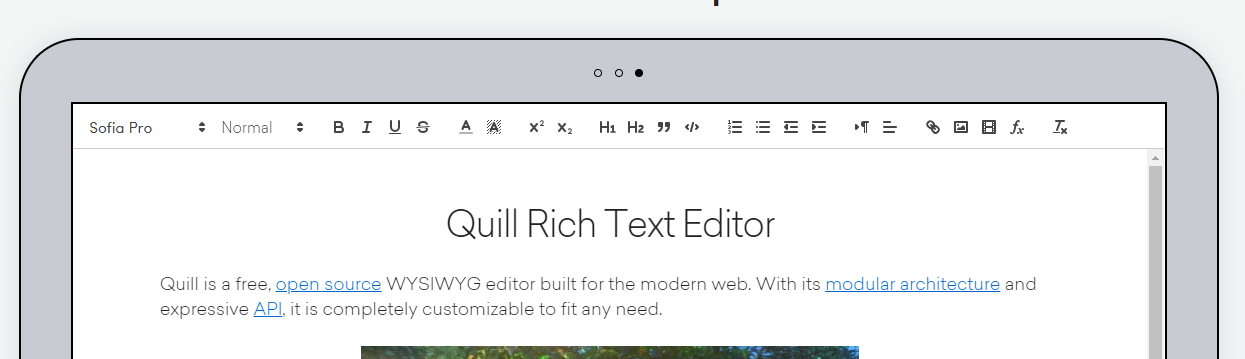
Quill, as one of the most modern rich text editors, has reached over 35k stars on Github. Its numerous useful features make it extensible, compatible, and simple to start to use as well.
Quill, as one of the most modern rich text editors, has reached over 35k stars on Github. Its numerous useful features make it extensible, compatible, and simple to start to use as well. Another important characteristic of Quill resides in its customizability. The very feature enables developers to tailor Quill for their needs.
When using Quill in blog posts, it is very common to have table of contents (TOC) at the top of the post. It simplifies the accessibility of content for the reader as well as Search Engine Optimization (SEO) improvements. TOC, if it is used in the right way, can target multiple keywords at once within a single blog post. Hence, the posts can rank on multiple keywords on the SERP! That being said, Quill accompanied by a good table of content may be interested to many developers.
TOC for Blog Posts
Though there are many great Quill modules, it seems that it lacks a simple TOC, as simple as starting using Quill itself. In this article, we will try to create a simple TOC for a blog post. We suppose this blog post has multiple header tags and we aim to create a list as a clickable TOC and put that at the beginning of the post. For demo you can look at this blog post.
Creating a TOC is simple, it needs two thing: first the header tags must have unique ids in order to link to them, and second a link that jumps to related position in the post. As these are not straightforwardly implementable with Quill, we have to get help from some modules and add few lines of code to accomplish this.
Links without target attribute
In Quill , it seems like target="_blank" on links is the default behavior, so if we have some links for TOC items it open the link in the new page, which is not expected behavior for TOC items. It must be a link with target="_self". Actually It has to be two different type of links, one for TOC and another type for ordinary links. Well, Quill cusomizability can help here.
  var Link = Quill.import('formats/link');

            class MyLink extends Link {
                static create(value) {
                    let node = Link.create(value);
                    value = Link.sanitize(value);
                    node.setAttribute('href', value);
                    if (value.startsWith("#")) {
                        node.removeAttribute('target');
                    } else {
                        node.setAttribute("target", "_blank");
                    }
                    return node;
                }

                format(name, value) {
                    super.format(name, value);

                    if (name !== this.statics.blotName || !value) {
                        return;
                    }

                    if (value.startsWith("#")) {
                        this.domNode.removeAttribute("target");
                    } else {
                        this.domNode.setAttribute("target", "_blank");
                    }
                }
            }

            Quill.register(MyLink);
It extends the Quill's Link module and in the create method look at the value of href, if it starts with # , the target attribute will be removed and its default behavior (_self) applies. For other links, it opens new page.
Header Tags with id attribute
In order to have headers with id attribute, one can change the Header module as follow:
var ids = [];

            function getRandomId(domNode) {
                let _id = Math.random().toString(16).slice(2, 9);
                ids.push(_id);
                return _id;
            }

            class MyHeader extends Header {

                constructor(domNode) {
                    let a = super(domNode);
                    domNode.setAttribute('id', getRandomId(domNode));
                    this.cache = {};
                }

                static create(value) {
                    const node = super.create();
                    return node;
                }

                static formats(domNode) {
                    return {
                        id: domNode.getAttribute("id")
                    };
                }
            }

            Quill.register("formats/header", MyHeader);
            MyHeader.blotName = "header"
Note that by using getRandomId() function, we temporarily give a unique id to each header. The ids array keeps generated ids for later use. These values will be replaced by appropriate and meaningful ids. Now we have building blocks of our work and can use them to create table of contents for this blog post. But we haven’t yet initialize our Quill editor, so let’s do that.
Initialize Quill Editor
After customizing our Quill, we need to initialize it. Note that because I load my content from Laravel eloquent model, I use Laravel blade syntax here: {!! $post->content !!} .
var content = new Quill(document.createElement("div"), {
                theme: 'snow',
                readonly: false,
                modules: {
                    syntax: false,
                    toolbar: '',
                },
            });

            content.setContents({!! $post->content !!});
Find Headers and Correct their Ids
Now we have to loop over the ops and find header tags. The headers array keeps header tags we found in ops except headers that their content is only a blank line ( \n ) because it occasionally occurs that header tags include blank lines.
Now it is time to create our table of content. We can fulfill this with using Quill’s insertText function and add each header within a list (formatLine). We also replace spaces within header texts with dash.
The content is ready with the TOC at the beginning of it, so let’s show it with $(“#q-content”).html(content.root.innerHTML).
let index = 0;
            let headers = [];

            content.getContents().ops.forEach(ops => {
                index++;

                if (ops?.attributes?.header) {
                    if (content.getContents().ops[index - 2].insert !== "\n") {
                        headers.push(content.getContents().ops[index - 2].insert);
                    }
                }
            });

            headers.slice().reverse().forEach(h => {
                content.insertText(0, h + '\n', 'link', '#' + h.replace(/\s/g , "-"), {
                    'color': '#5a3e3e',
                    'italic': true
                });
                content.formatLine(1, 1, 'list', 'bullet');
            })

            $("#q-content").html(content.root.innerHTML);

Finally, we update randomly created ids with their new values:

            ids.forEach(hid => {
                try {
                    var node = document.getElementById(hid);
                    node.id = node.innerHTML.replace(/\s/g , "-");

                } catch (error) {

                }
            });
Final Words
That’s it. We have our post with the table of contents using Quill text editor and some JavaScript codes. Although It is a straightforward and simple solution to create TOC for Quill, I surely believe that there is lots of room to enhance it and, of course, it can be coded more robustly and professionally. Therefore, feel free to improve it and let me know how you deal with it. Contact me in case of any questions.
Thank you for visiting! Enjoy exploring our diverse collection of blogs, crafted with passion and insight to inspire and inform. Happy reading!